Active Learning Classrooms (ALCs) located in Bruininks Hall have some unique presentation features at the student tables and the instructor station. Other ALCs that have similar seating may not have the same capabilities.
Student tables
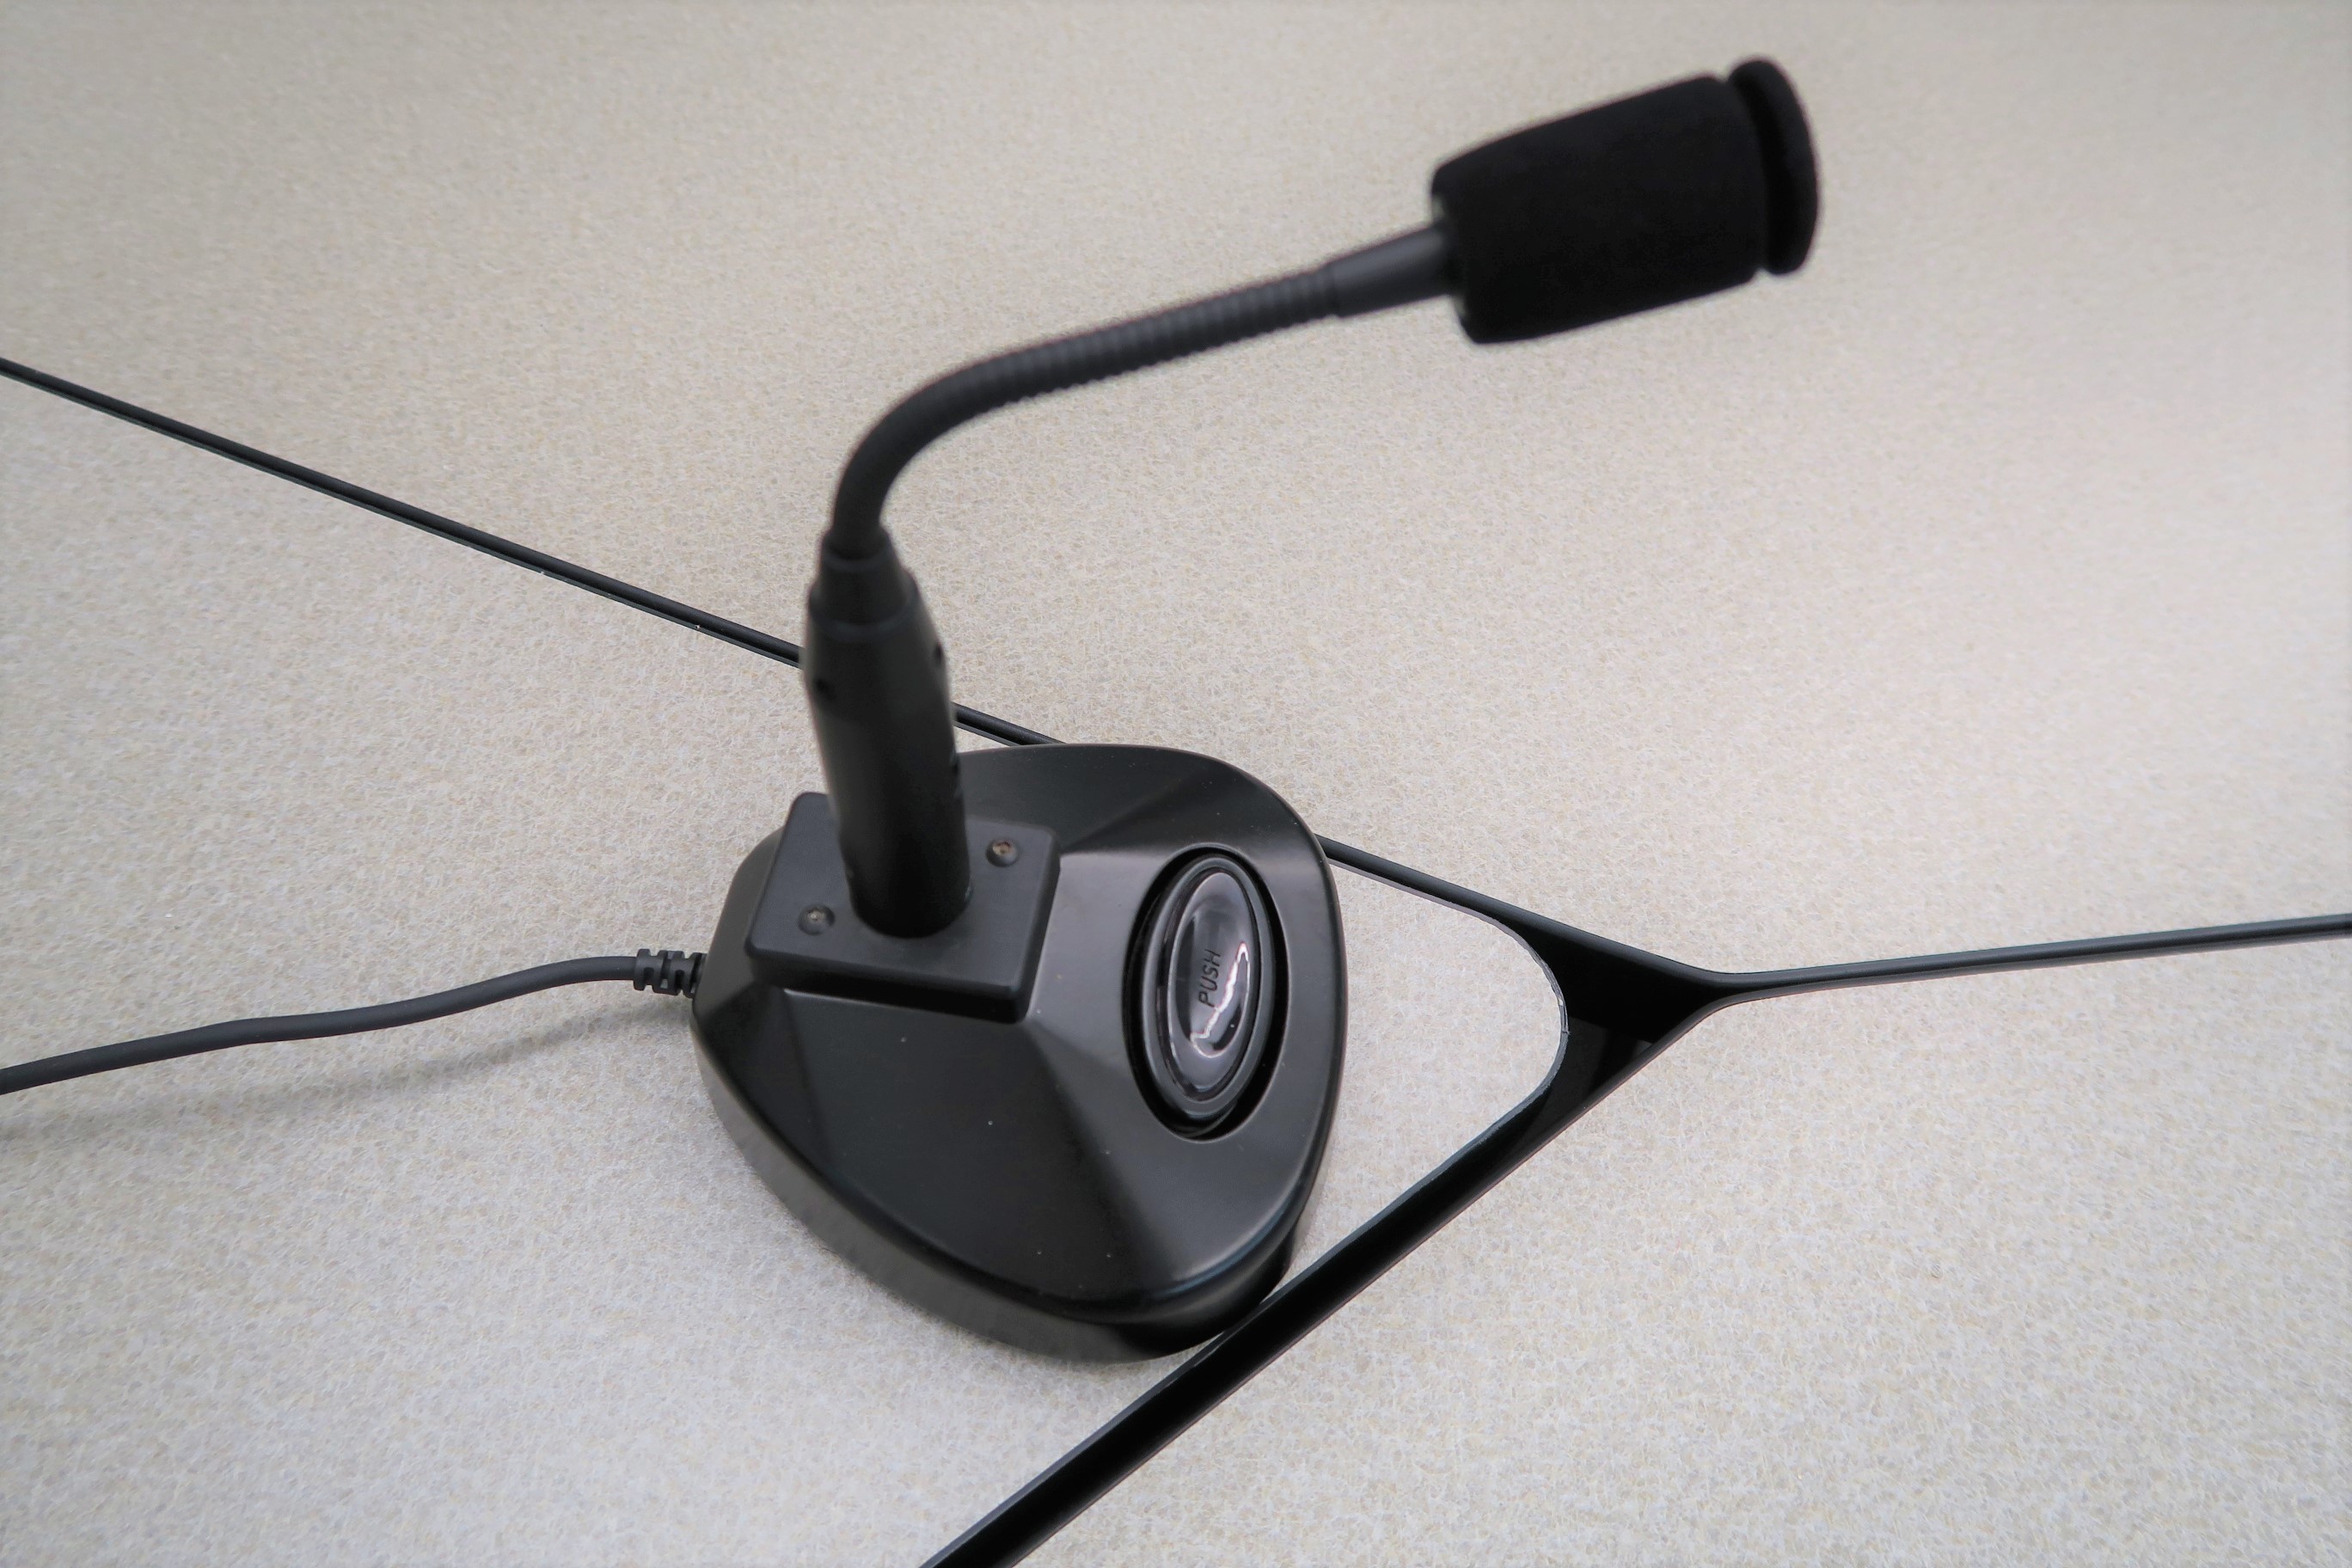

Microphone use
- Before use, position the microphone on the table so that you can speak into the top.
- Press and hold the button at the base to use the mic.
- Release the button when you are finished speaking.
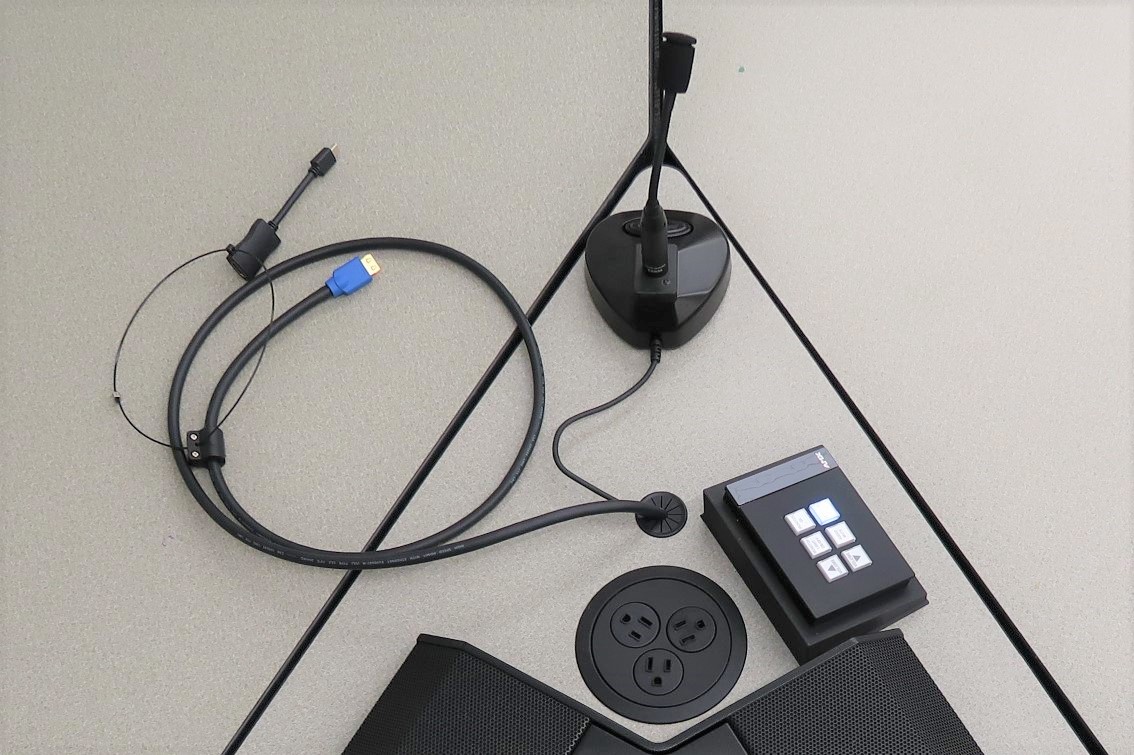
Device connection
Located in the center of each student table is the HDMI cable to connect a device. This cable is currently provided with a USB-C and a Mini DisplayPort adapter. If another connection is needed, you must supply your own adapter.
The instructor touch panel can power on all students displays. These displays can also be powered on one at-a-time by using the controls at each student table.
Student table controls
The following controls are available in select rooms only:
- VOLUME (up/down) & MUTE adjusts the volume of the presentation source connected at the table.
- MONITOR LIGHT ON/OFF toggles a blue light behind the display. The main touch screen on the instructor station can also turn it off. This can be used for polling, requesting assistance, or simply reporting back that the group is ready.
- MONITOR (on/off) toggles the display for that table on/off.
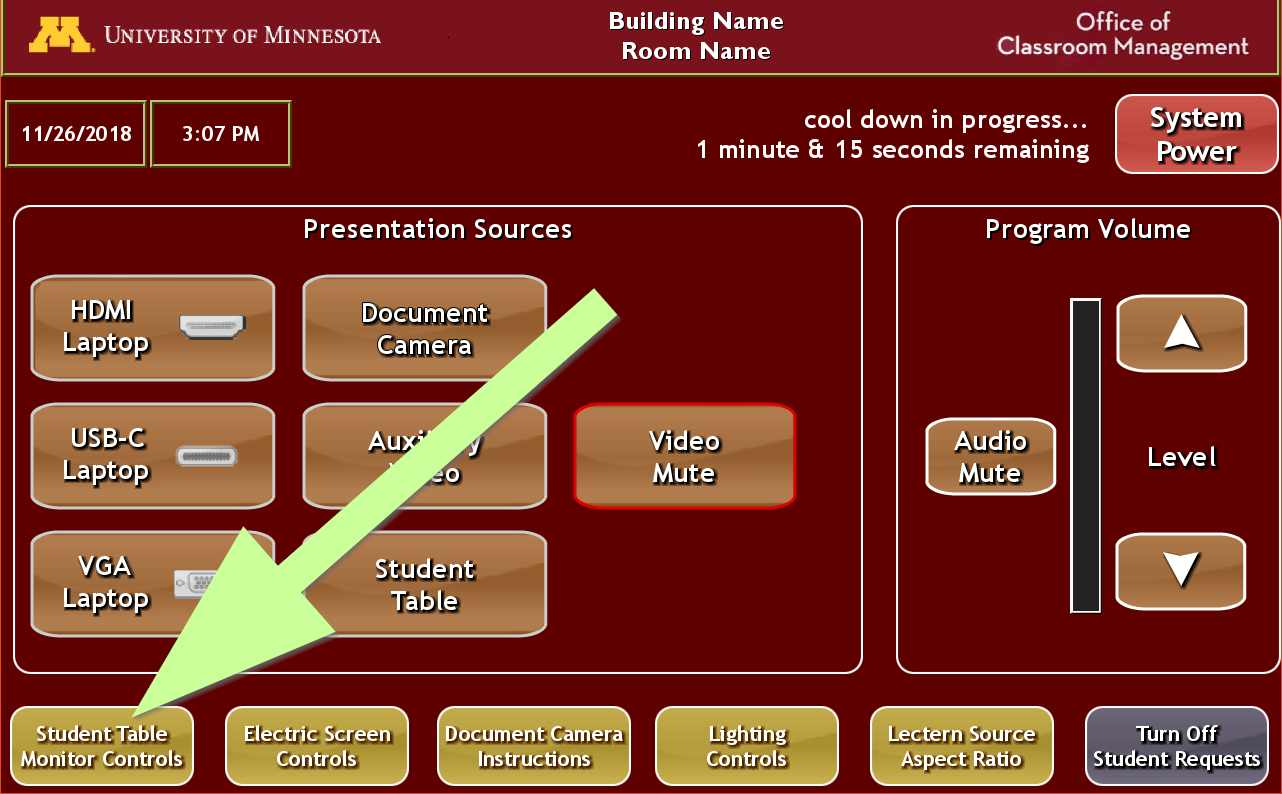
Instructor Station
The sub-menu for “Student Table Monitor Controls" can be found at the bottom left of the touch screen.
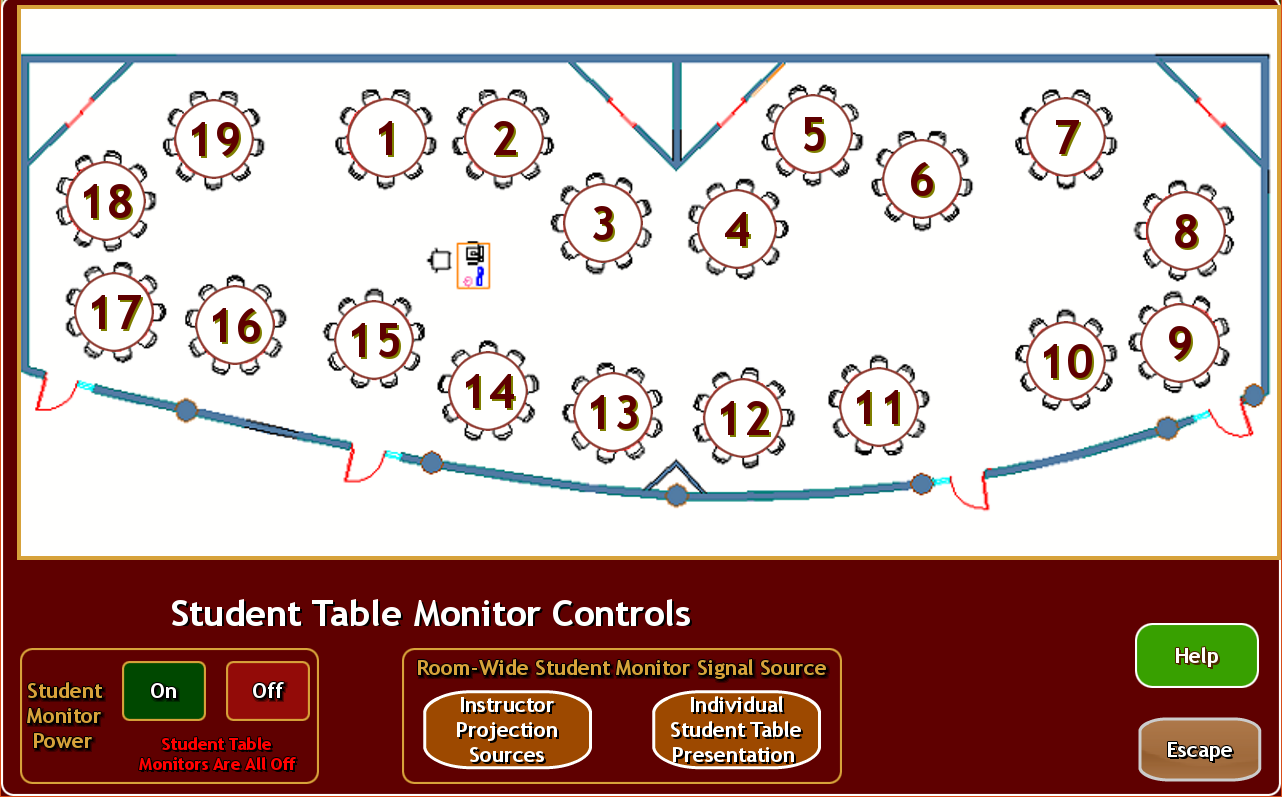
Group collaboration mode
Press the “Individual Student Table Presentation” button. The system should start in this mode.
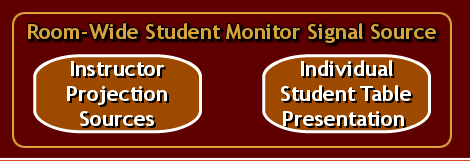
Sharing to the Room
Press on a table number to send the content from a student display to all monitors.
To return to the original setting, where each student table displays the image from that student table, press the “Individual Student Table Presentation” button.
If you would like to repeat your computer source to all monitors, press the “Instructor Projection Sources” button to send your display to all monitors.
Projecting from a student device onto the large screen
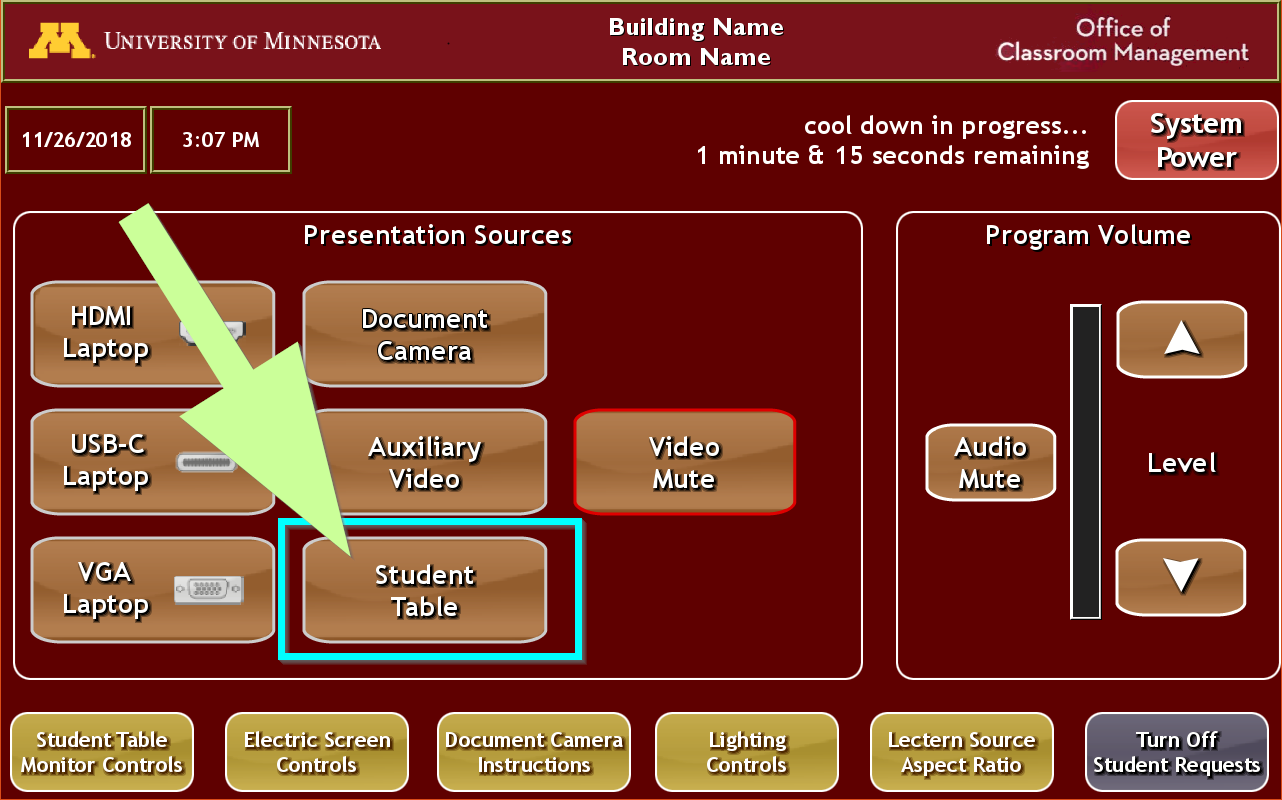
-
Select “Student Table" as the Presentation Source.
-
Select a table number to send the student display from that table to the projector.
If you have additional questions or would like an in-person consultation, please contact the Classroom Support Hotline at classrm@umn.edu or call 612-625-1086.